Install Steps
Reach out to help@cxconnect.ai if you need any assistance during the process.Create an OAuth Code Authorization / PKCE client
- The Code Authorization / PKCE client will allow frontend communication between Genesys and the cxconnect.ai application
- Log in to your Genesys Cloud organization and create a new OAuth client that uses the Code Authorization / PKCE type. For more information, see Create an OAuth client in the Genesys Cloud Resource Center.
- Add the following to Authorized redirect URI:
- If installing into a Production environment use:
https://genesys.cxconnect.ai/genesys/ - If installing into a Test environment use:
https://test.genesys.cxconnect.ai/genesys/
- If installing into a Production environment use:
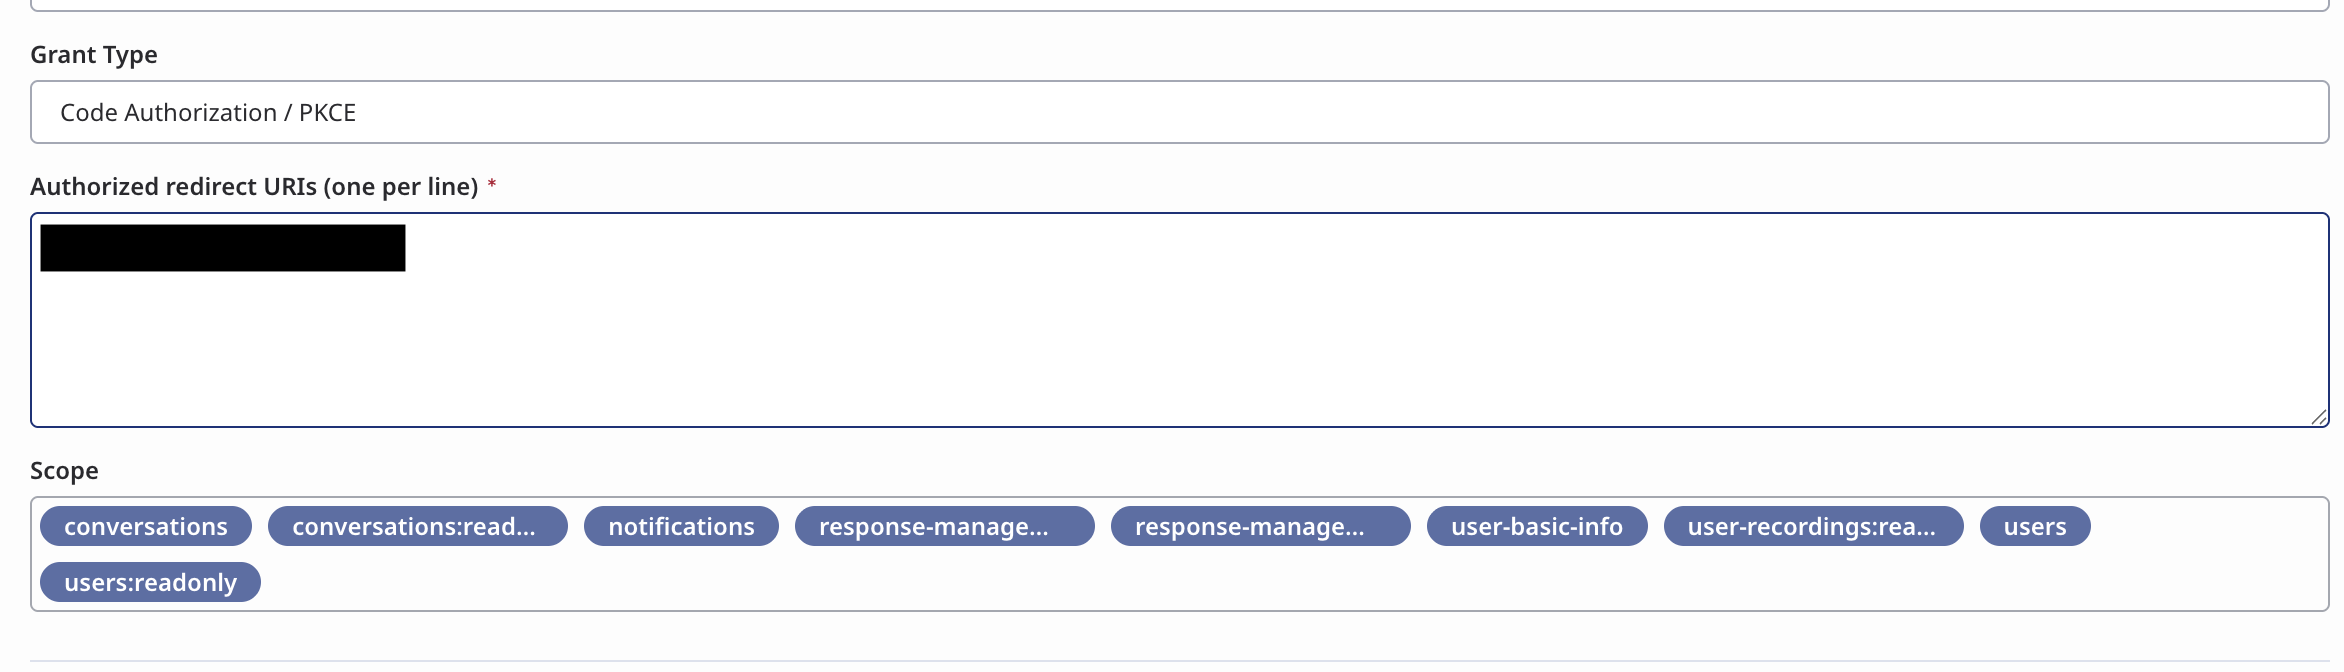
- Add the following Scopes:
conversations, conversations:readonly, notifications, response-management, response-management:readonly, user-basic-info,users:readonly - Provide the generated client ID and client secret from your OAuth client and specify the region where your Genesys Cloud organization is located to cxconnect.ai.
Create an OAuth Client Credentials client
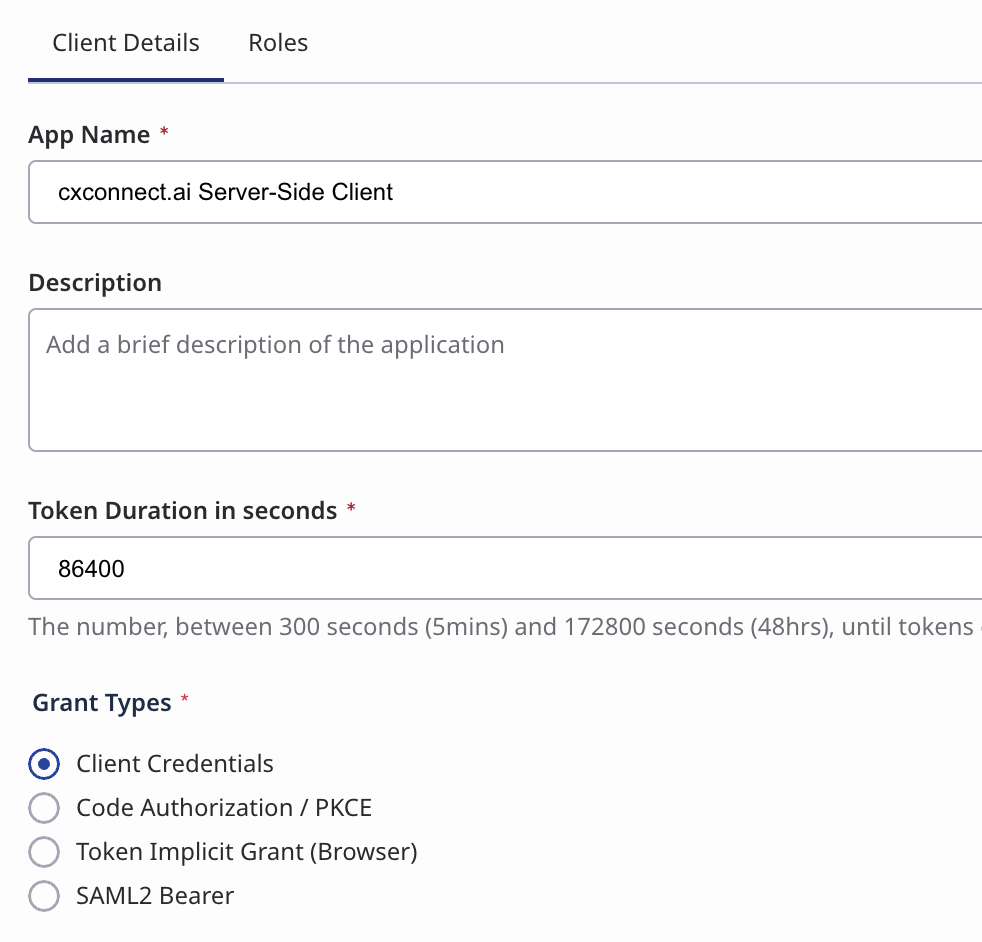
- The Client Credentials client will allow cxconnect.ai servers to communicate and manage the widget integration.
- Create a Client Credentials OAuth grant, similar to above.
- Copy the Client ID and Client Secret for sending to cxconnect.ai during activation.
- This allows cxconnect.ai to make necessary updates to the widget.
-
Add a role with
integrations:integration:editto the created OAuth Client
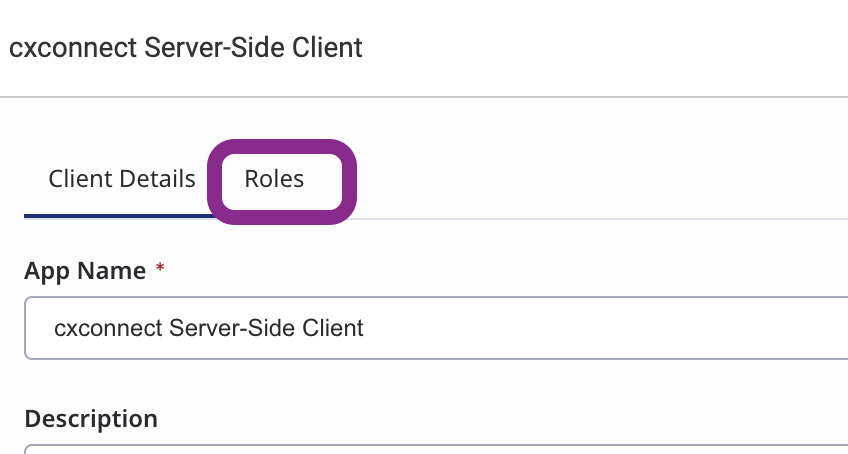
- You may use an existing Role or add a new one
Adding a new Role
- Navigate to Admin > People & Permissions > Roles/Permissions
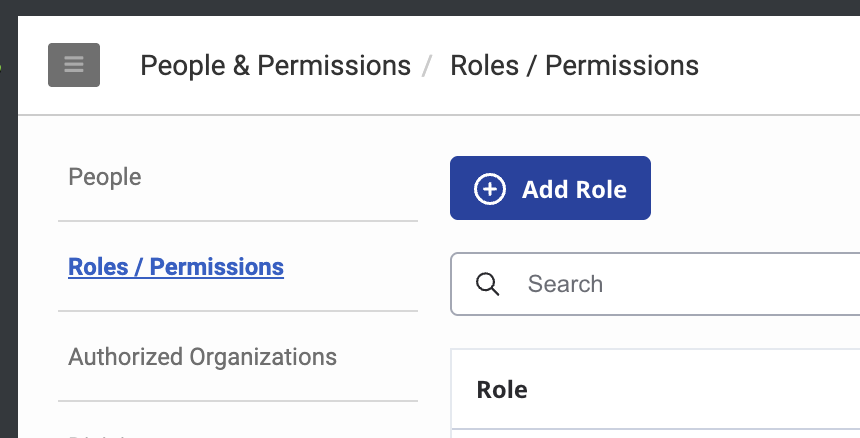
- Click “Add Role”
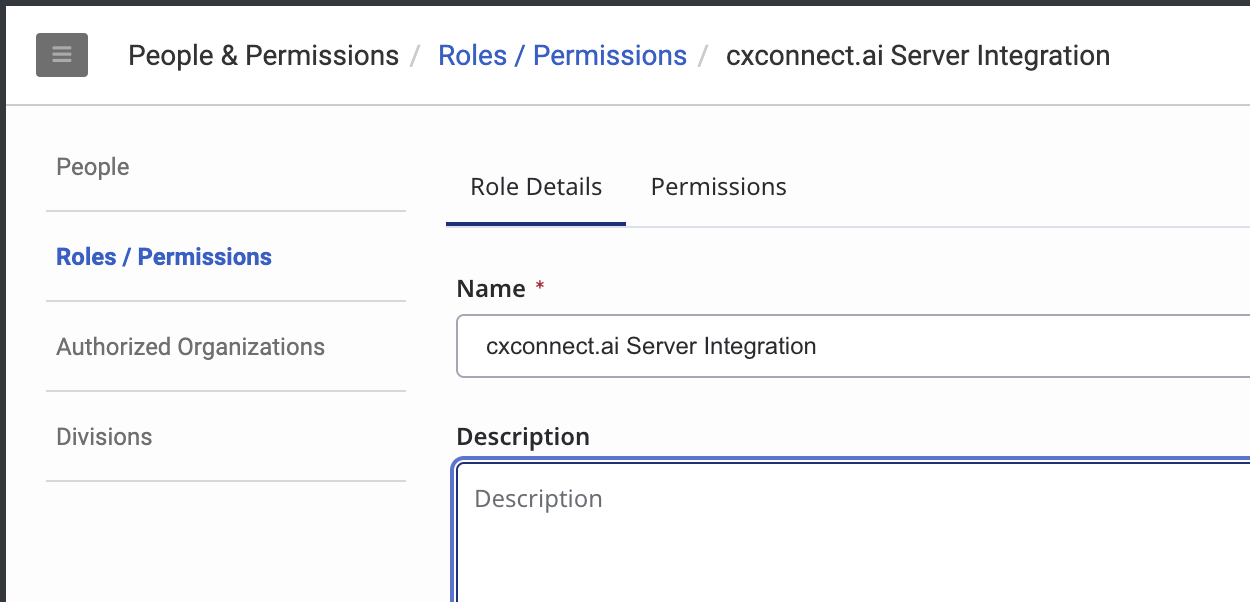
- Name the Role

- On the Permissions tab search, find, and select the Integrations > Integration > Edit permission
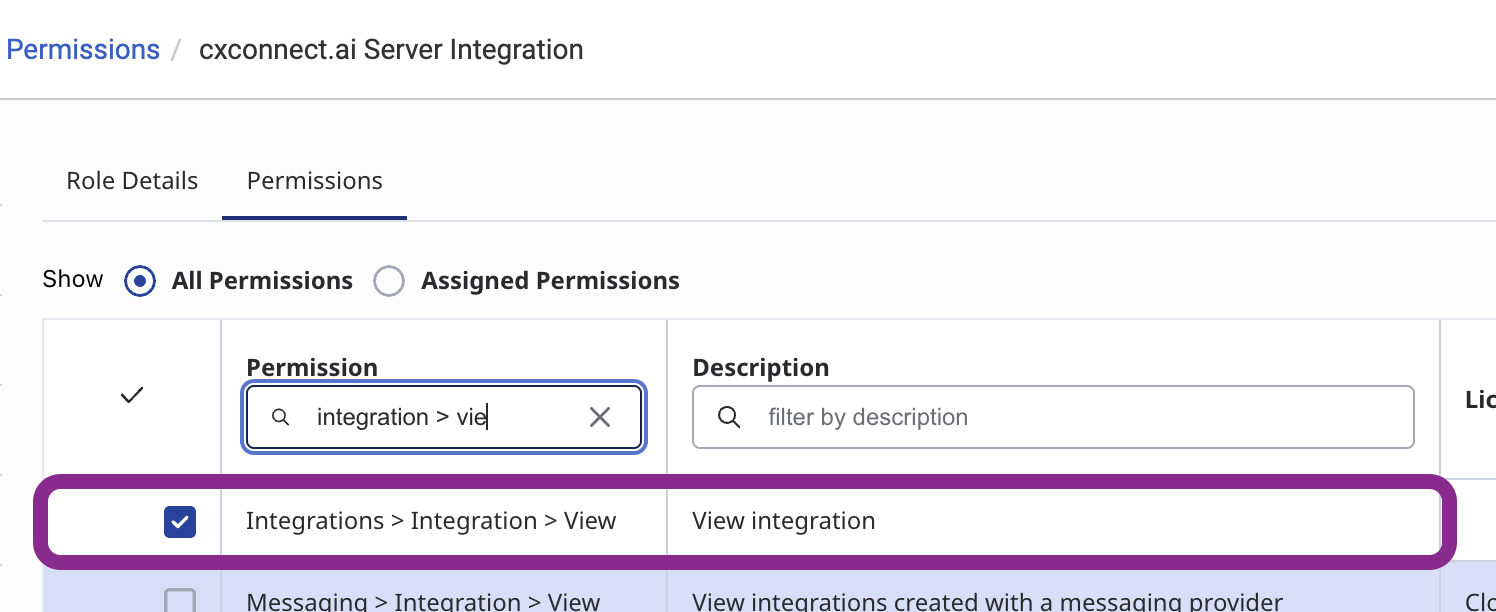
- On the Permissions tab search, find, and select the Integrations > Integration > View permission
Install and activate the App in Genesys Cloud
Add the Interaction Widget integration
- Log in to your Genesys Cloud organization and add an integration. For more information, see Add an integration in the Genesys Cloud Resource Center.
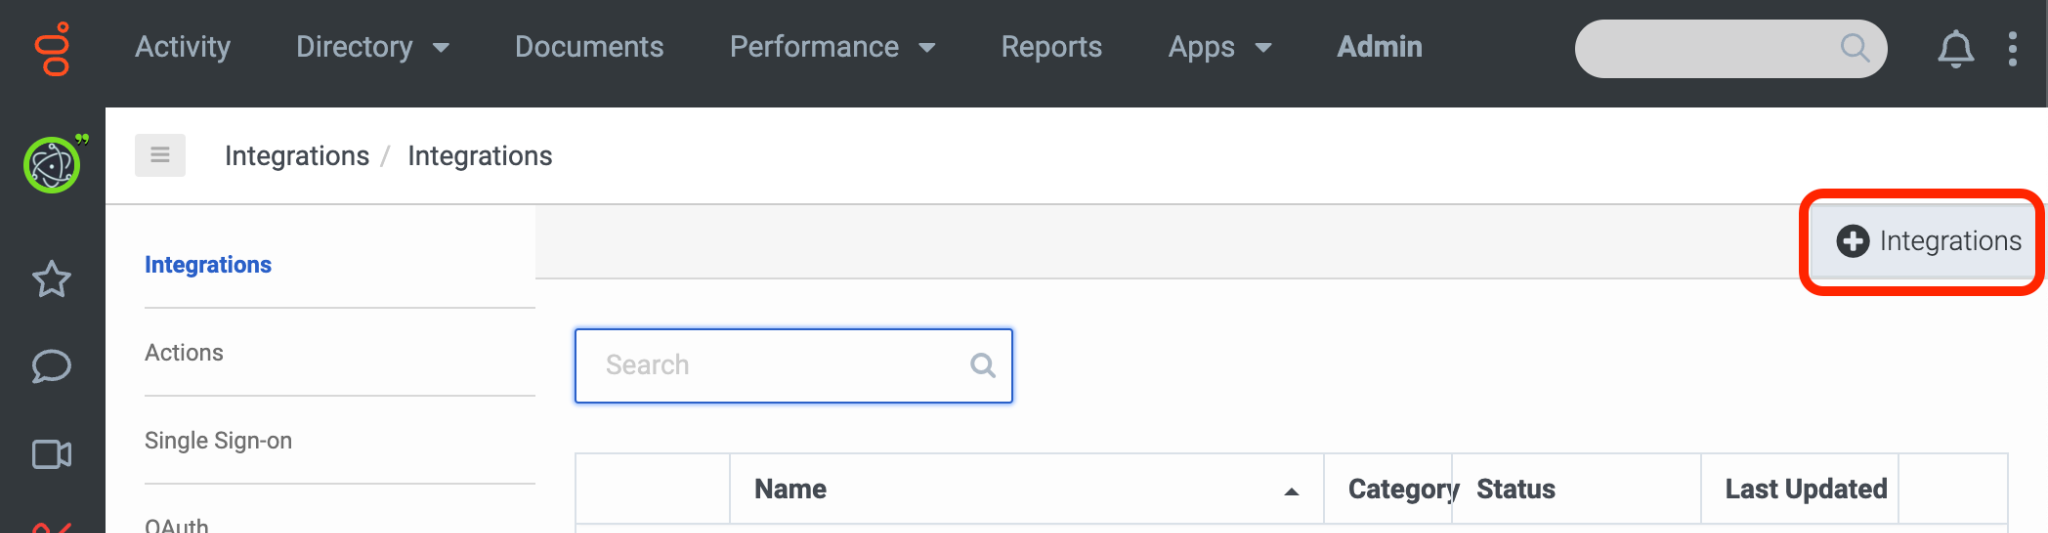
- Install the Interaction Widget integration.
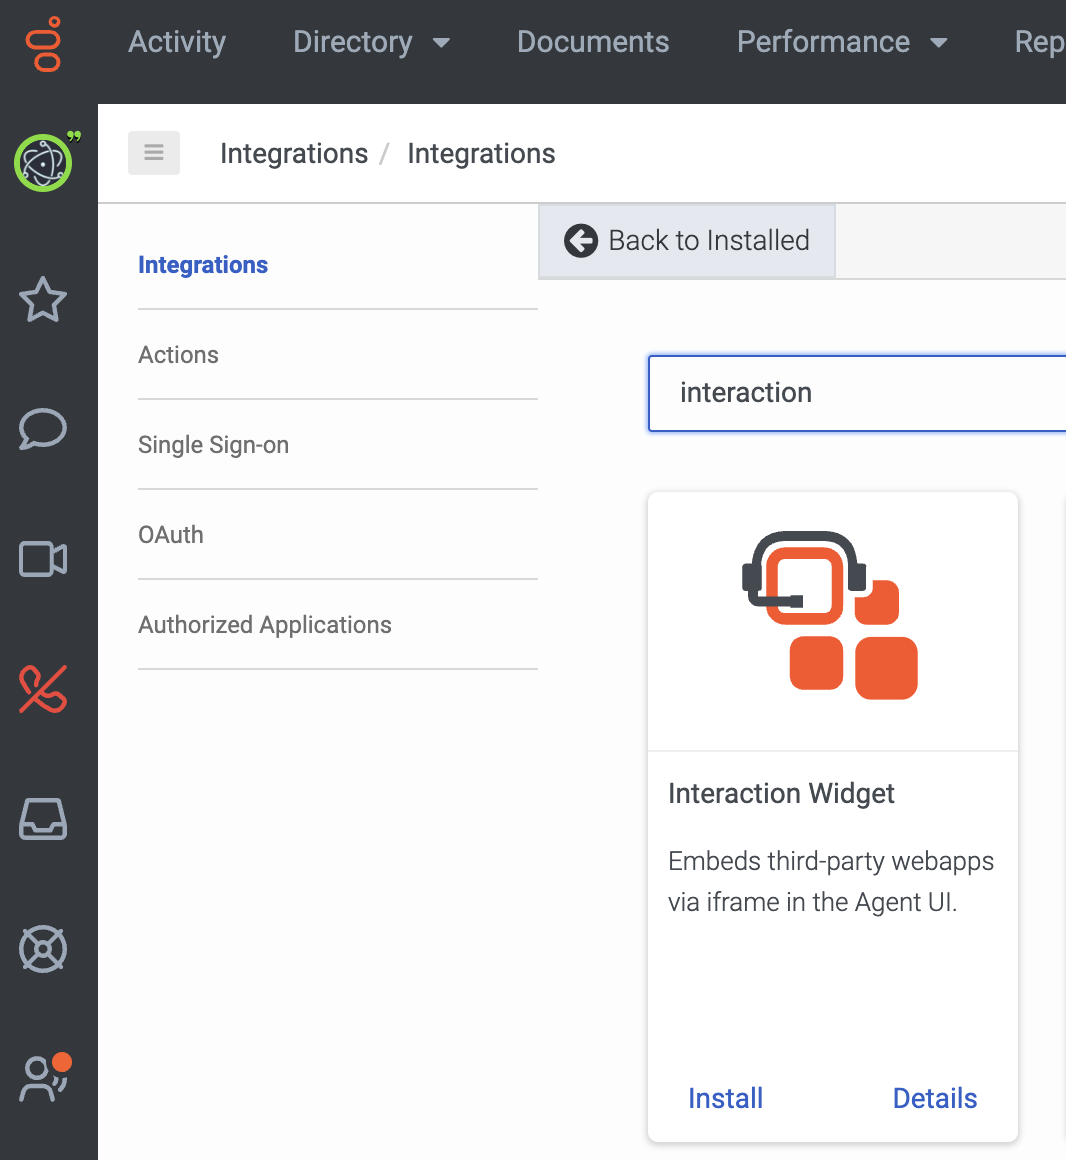
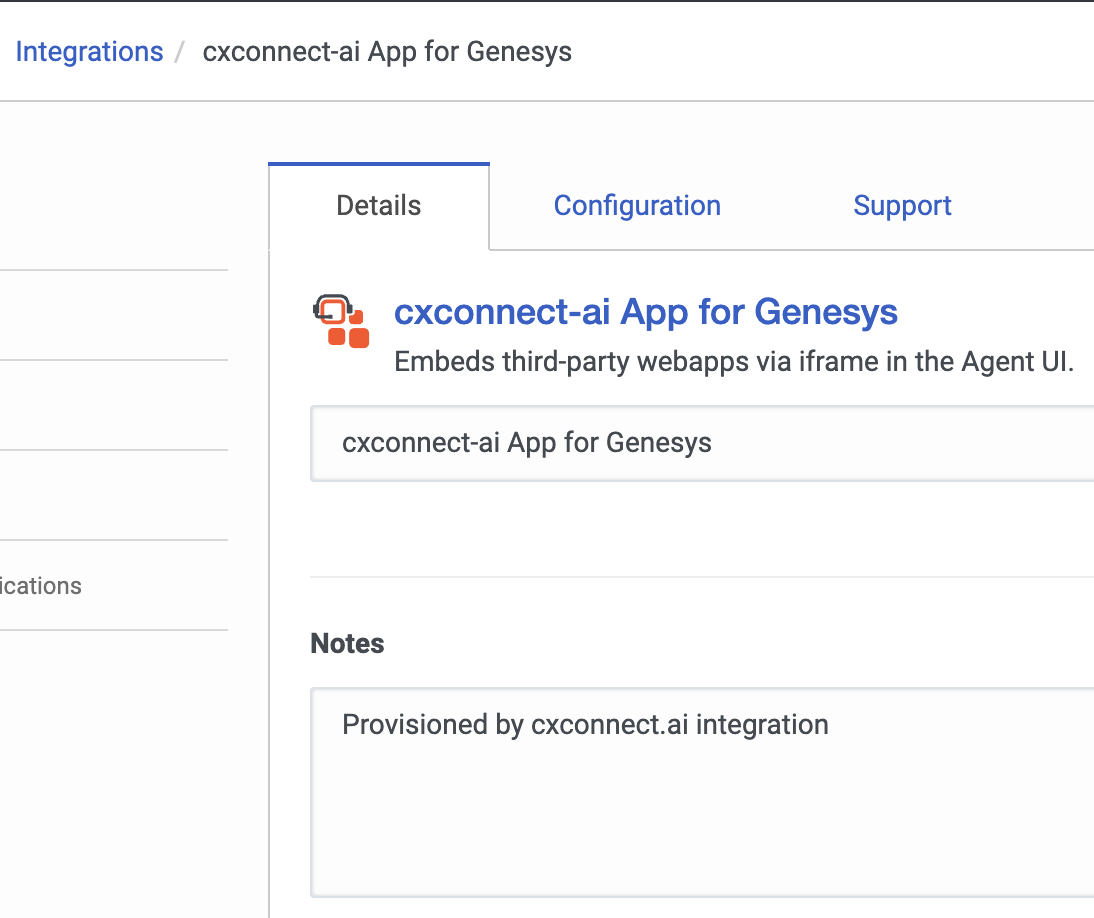
- Name the application.
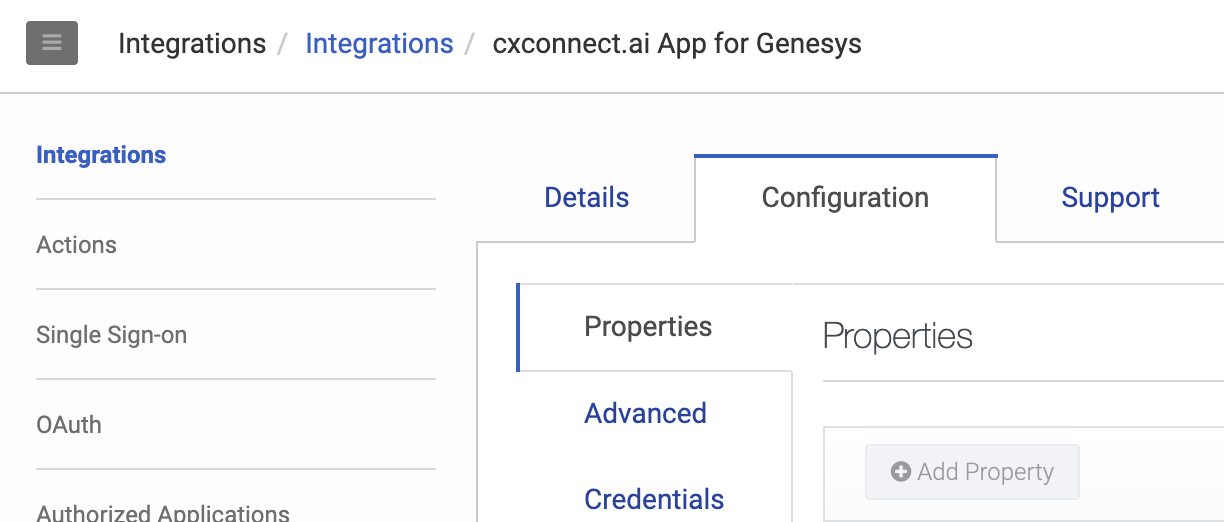
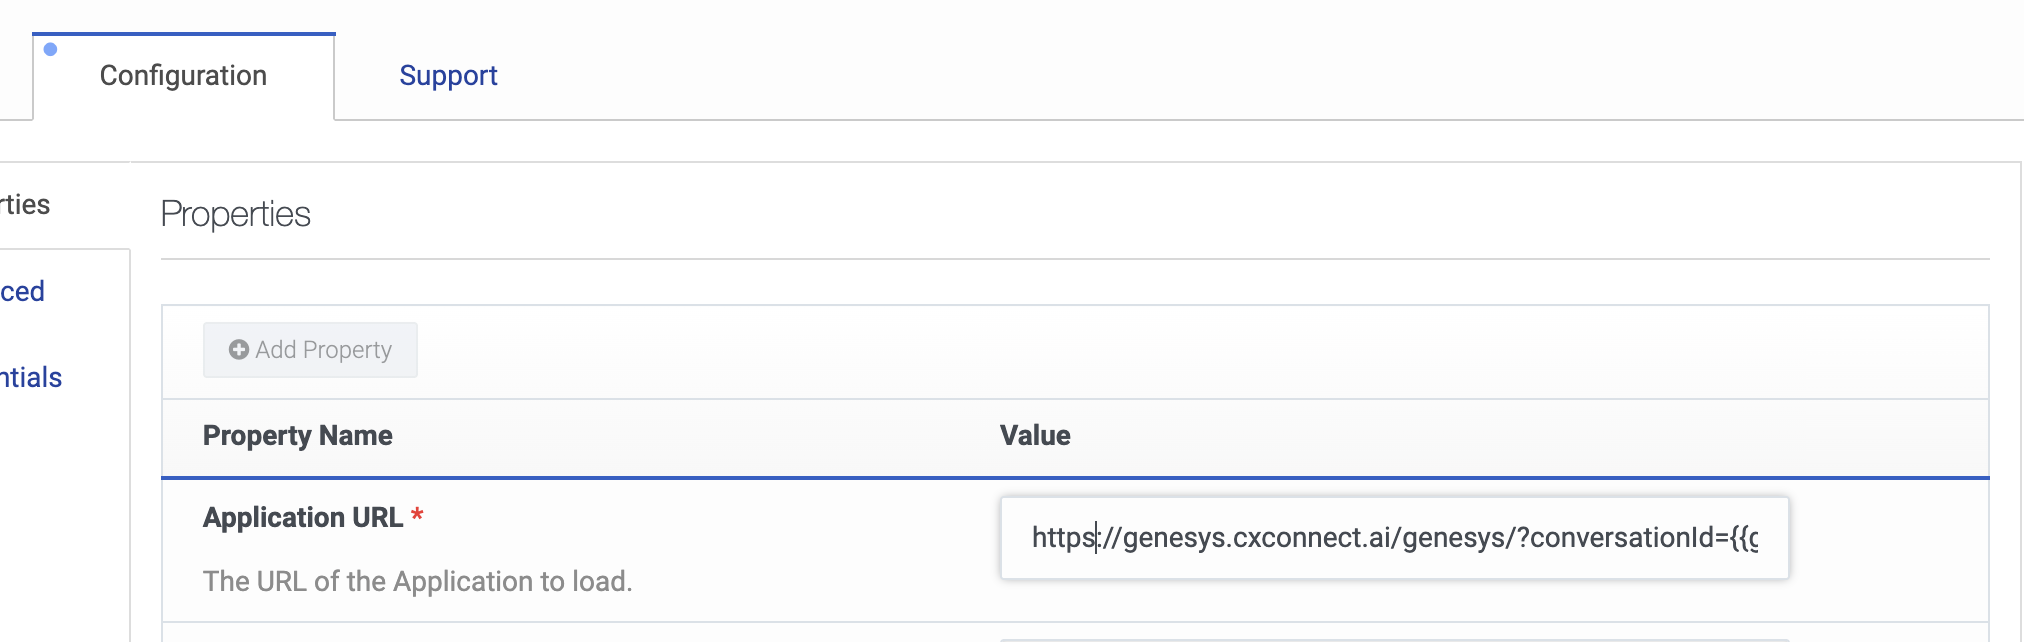
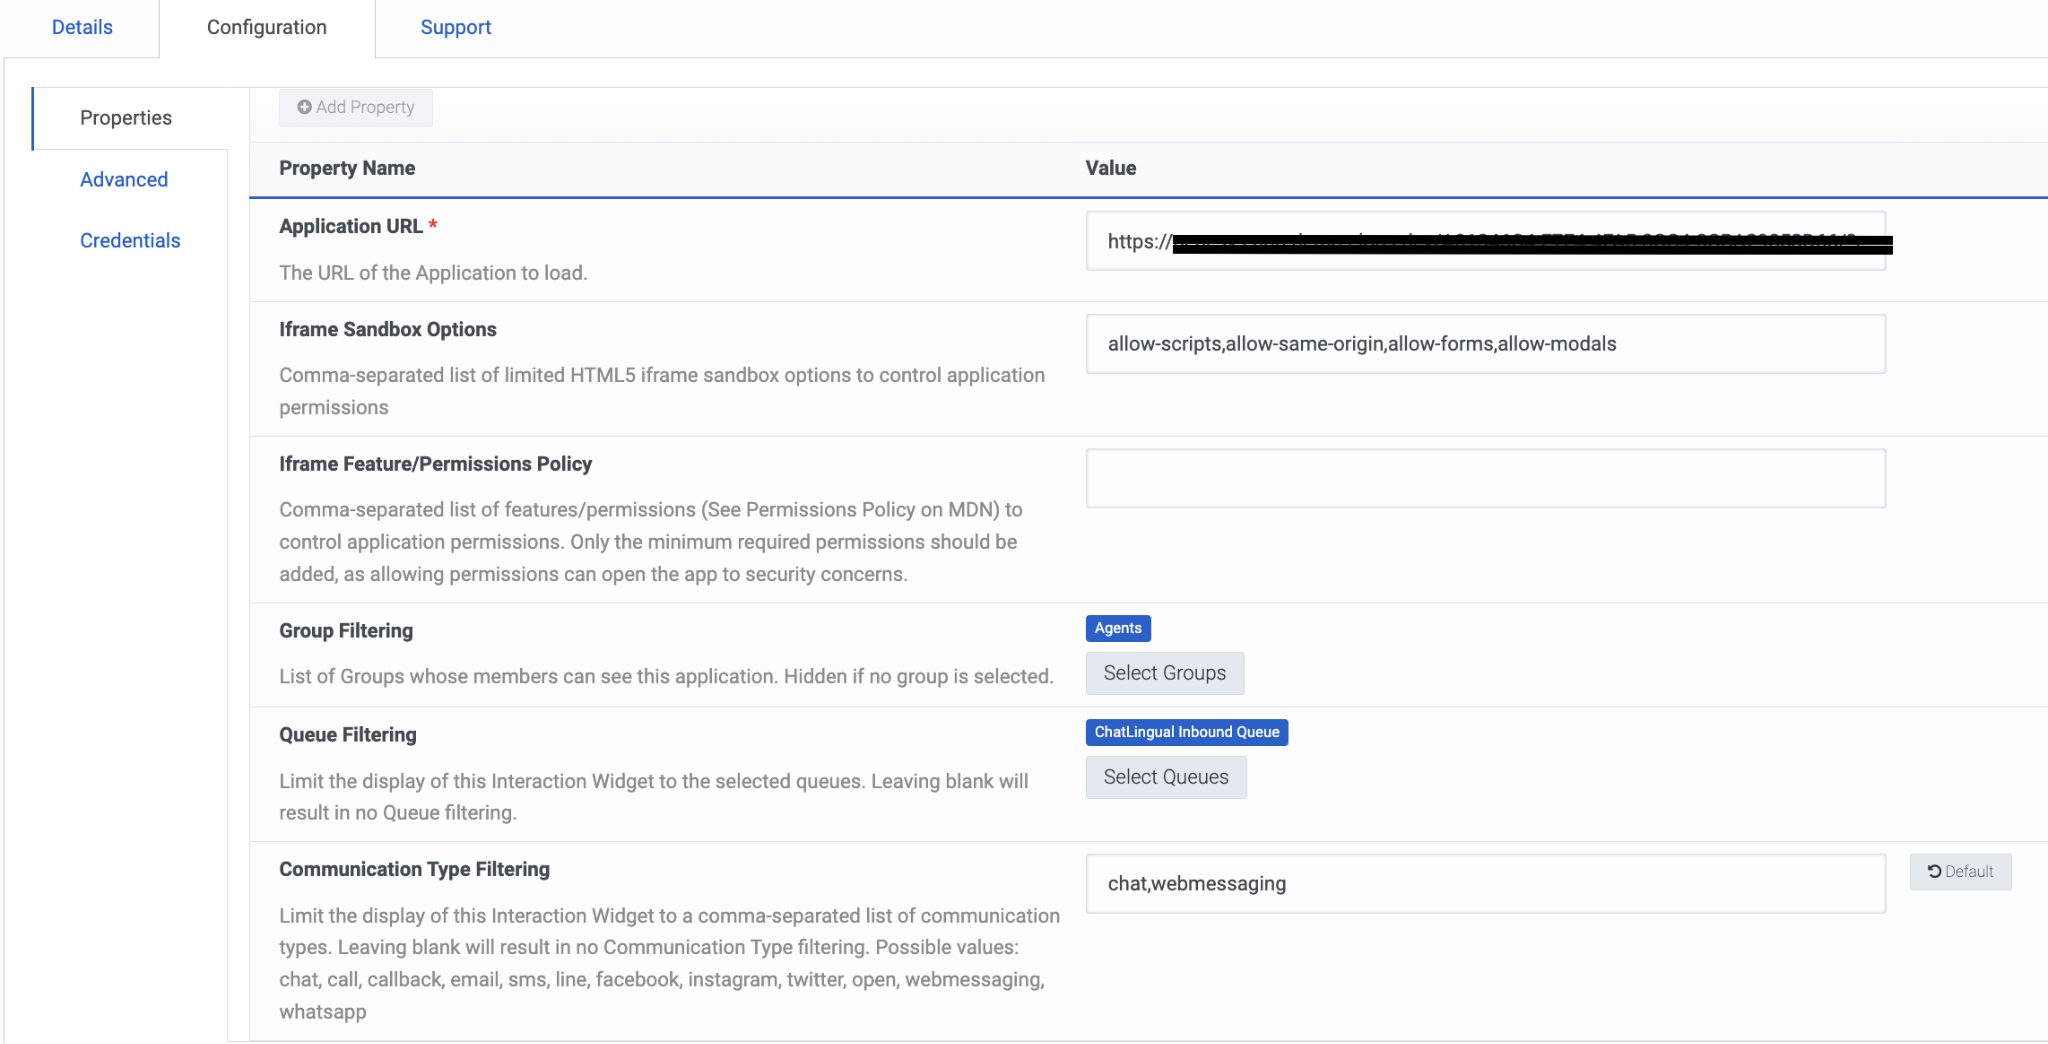
Configure the Application URL
- Click the Configuration tab.
- In the Application URL box, type the URL of the web application. Be sure to specify the full URL, beginning with https:
Configure Iframe Sandbox Options
- In the Iframe Sandbox Options box, add the following:
Set Group and Queue Filtering
- To limit access to specific groups of agents, in Group Filtering, select the groups that can use the application. Note: if no groups are assigned, no one will be able to see the app.
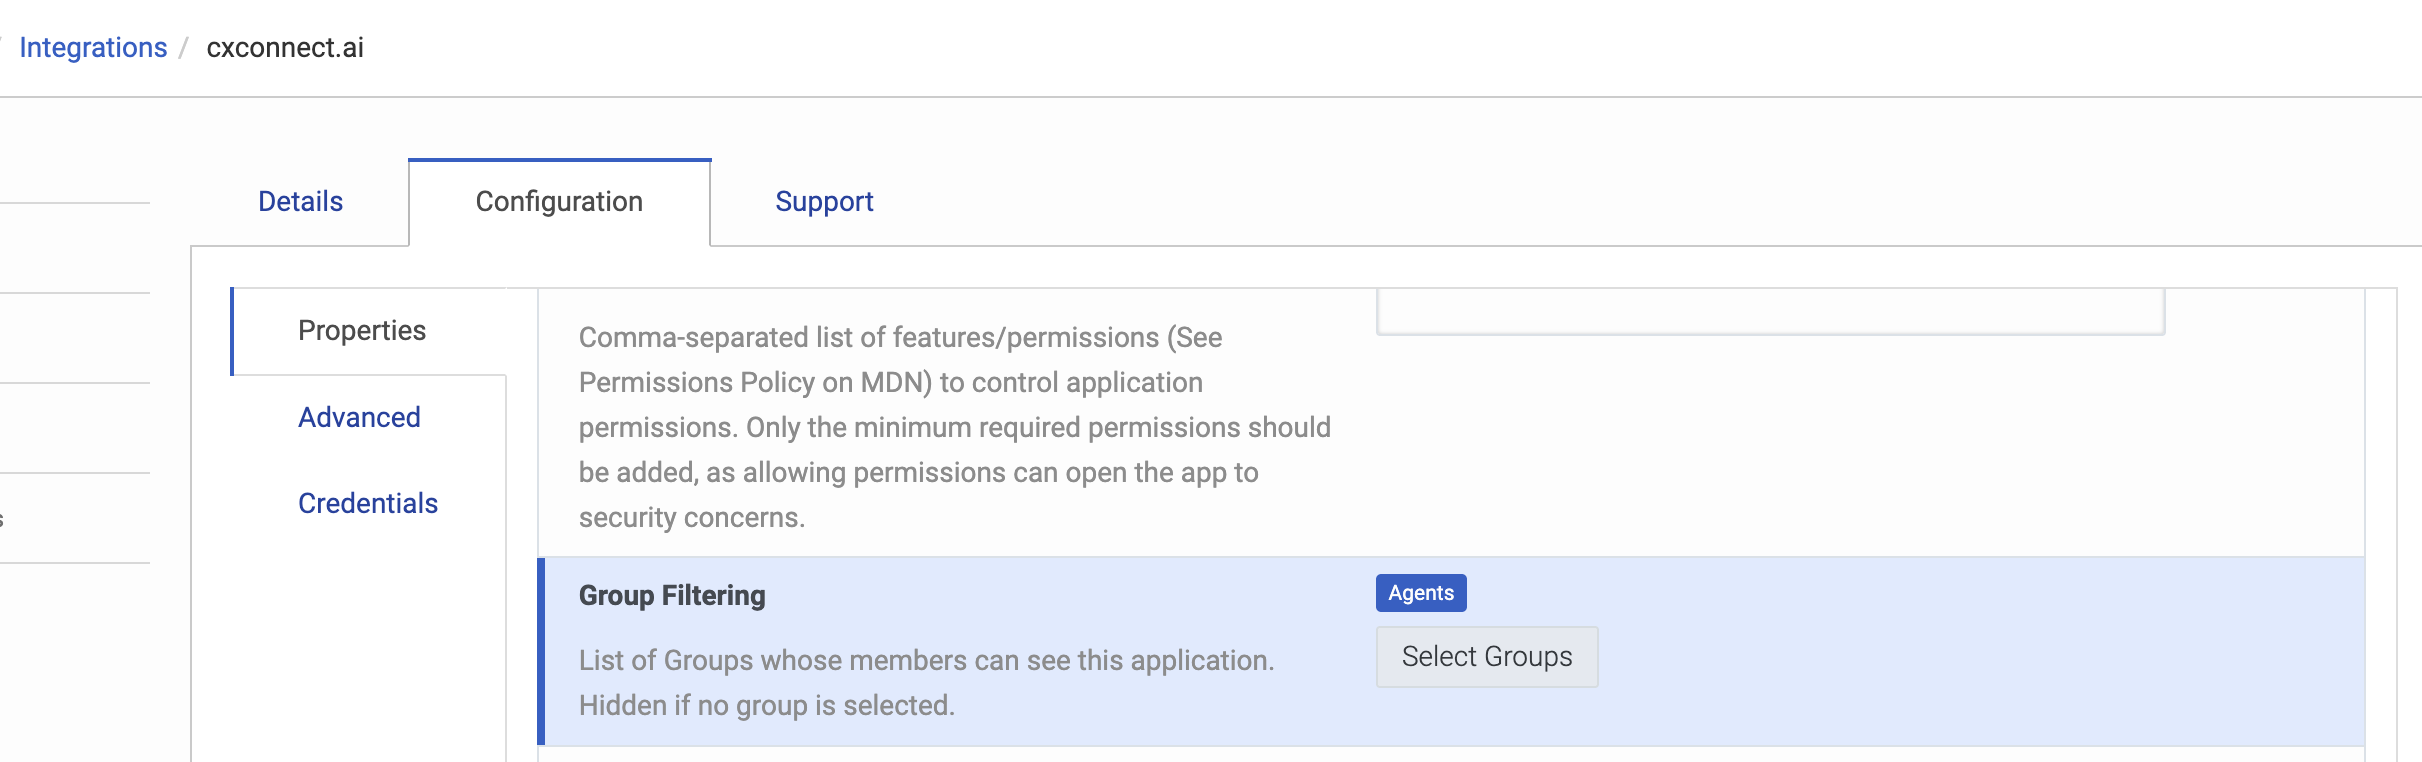
- To limit access to specific queues, click Select Queues and select the queues that can use the application.
- In the Communication Type Filtering box, type: chat,webmessaging
Configure Advanced Settings
- Click Advanced and enter the following code in the text area. Then save and activate the integration.
Activating your cxconnect.ai widget
-
Once your integration widget is successfully created cxconnect.ai must have the following to activate the installation:
- The installed widget ID, usually found in the URL, example:
- Your organization ID
- Your Genesys Cloud region (e.g.,
us_east_1,eu_west_1, etc.) reference - The frontend OAuth Code Authorization / PKCE client ID and client secret created above
- The backend OAuth Credentials Client ID and Client Secret created above.
- You may email these contents directly to help@cxconnect.ai or securely send in whichever way your organization typically sends similar information.
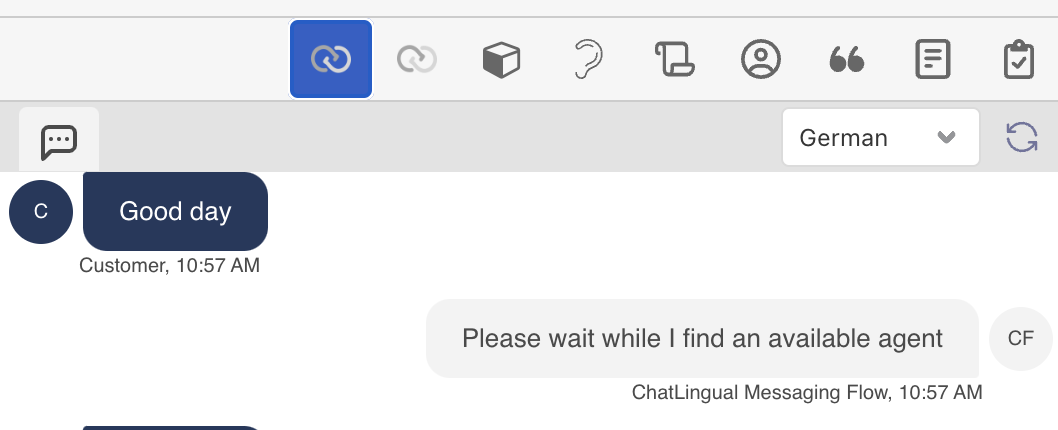
Accessing the Application
In your agent conversation view, if you have access, the cxconnect.ai application should now be discoverable!\